Xbox 360 Destiny Taken King Taken Champions Cheese Easy
2 Cosmodrome strikes from the original Destiny have made their way to Destiny two in Season of the Chosen. One of them, Fallen S.A.B.E.R., is i of the easiest strikes in the game. Guardians volition take to face hundreds of Fallen enemies before facing a rather picayune Heavy Shank boss.
It turns out the Nightfall variant is just as piece of cake. Comparable to the Lake of Shadows on Master, this item Nightfall is piece of cake to farm and isn't filled with many mechanics. If you've never tackled Fallen Southward.A.B.Due east.R. before, this guide should prove useful. Let's go over how this Nightfall works, forth with a breakdown of the enemies and mechanics you tin await in each run across.
Modifiers And Recommended Loadout
Fallen South.A.B.E.R. has quite a few modifiers on Master difficulty, two of which can spell immediate death for unprepared fireteams. Here'south what you'll demand to gear effectually:
Nightfall Modifiers
- Scorched Earth:Enemies throw grenades significantly more often.
- Champions: Overload:This mode contains Overload Champions, which cannot be stopped without an Overload modernistic.
- Champions: Bulwark:This mode contains Barrier Champions, which cannot be stopped without an Anti-Bulwark mod.
- Attrition:Regeneration is greatly impaired. Defeating enemies may create wells of Light.
- Equipment Locked:You will not be able to change your equipment after this activeness starts.
- Match Game:Enemy shields are highly resistant to all unmatched elemental damage.
- Champions: Mob:This mode contains additional Champions.
- South.A.B.E.R. Protocol:Incoming Solar and environmental damage increased.
Central Traits
- Champions:Barrier Servitors and Overload Captains
- Shields:Arc (Captains) and Void (Servitors)
- Recommended Power:one,330
Attrition forces you to play either passively or aggressively; playing a hybrid betwixt the two will get you killed. S.A.B.E.R. Protocol as well causes sure enemies to demolish your health bar. Fortunately, this Nightfall has then many enemies that spawning wells of Lite should be trivial. Bring Warmind Cells or Riskrunner to thin the herd as fast as possible. Besides that, this is by far one of Destiny two's easiest Main Nightfalls.
Subclass
- Hunter:Way of the Pathfinder, when paired with Omnioculus, is a fantastic support spec for your team. If y'all're playing solo, run The Sixth Coyote instead. Revenant is as well useful for its crowd control capabilities.
- Warlock:Attunement of Chaos and Grace are best for a team setting. Chaos provides fantabulous damage when paired with Contraverse Hold, and Grace tin keep your team'south health and Supers topped off with Phoenix Protocol. If yous're attempting to solo this, Attunement of Hunger is a good option as well.
- Titan:Lawmaking of the Siegebreaker is tough to beat, healing you after ability kills while generating sunspots. Alternatively, Code of the Commander with Ursa Furiosa nullifies nearly of this Nightfall's difficulty.
Weapons
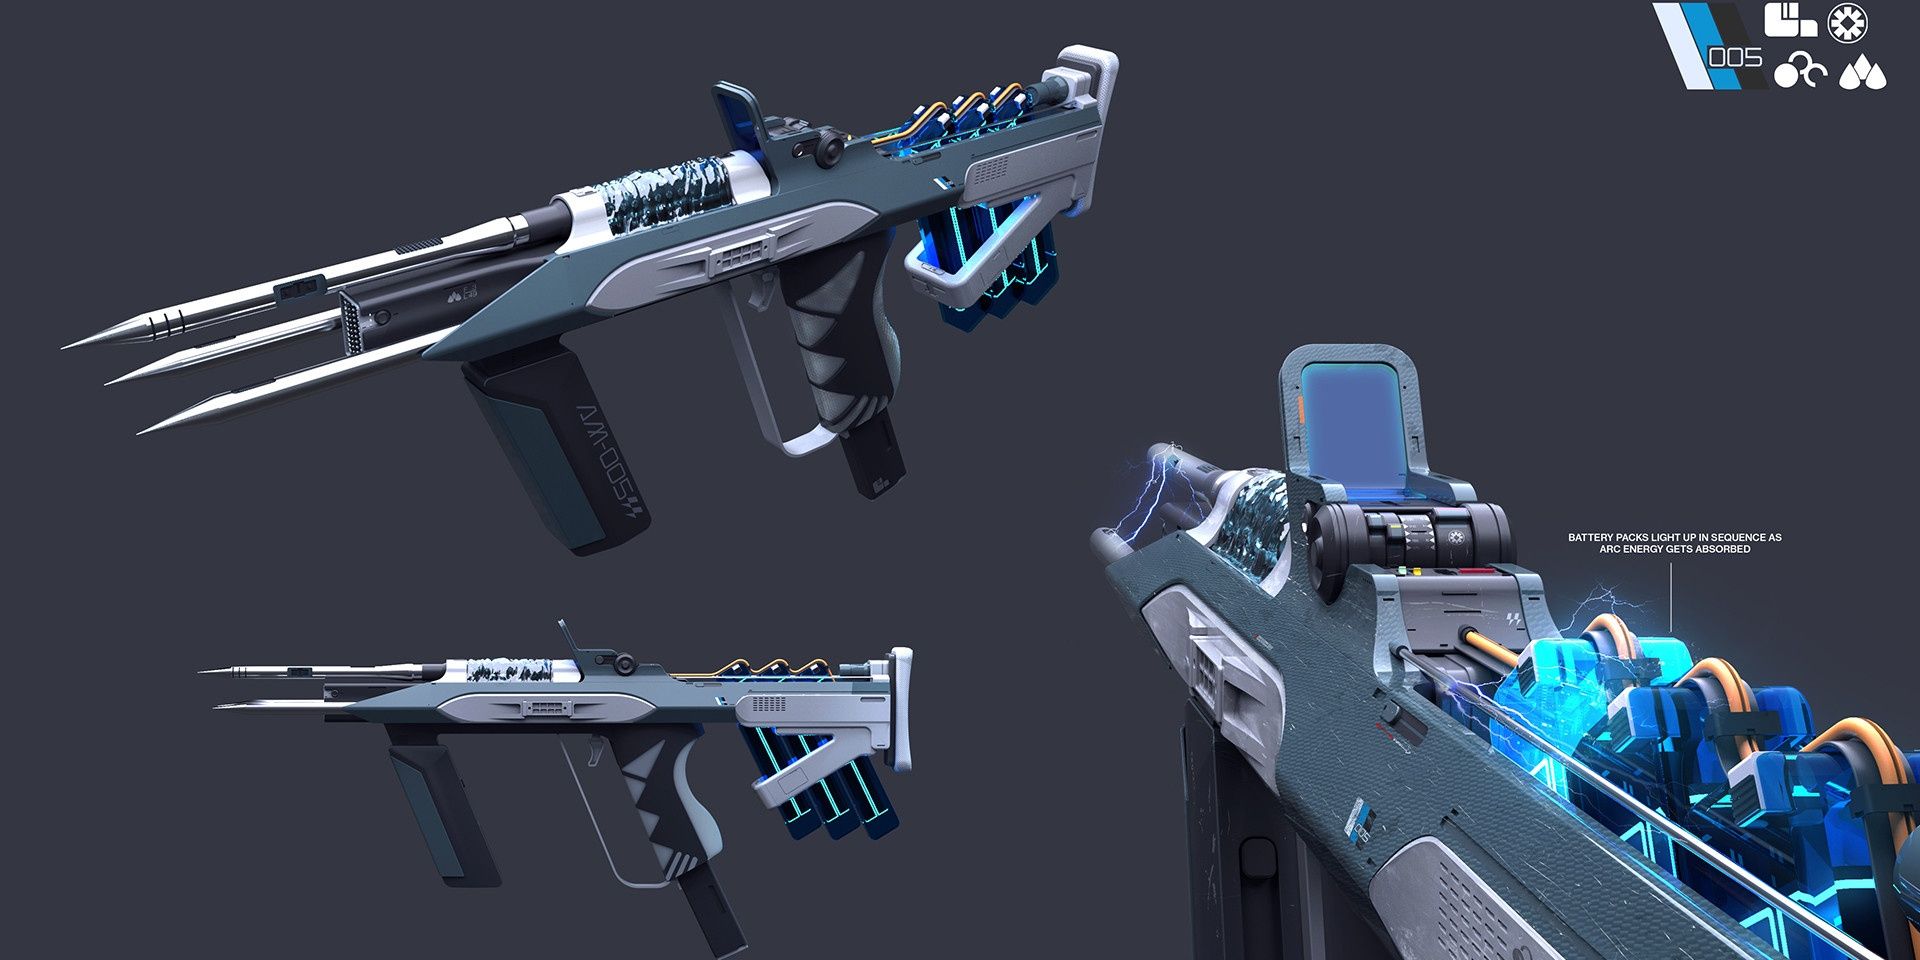
- Riskrunner:Nearly every enemy in this Nightfall does Arc damage. Riskrunner will provide excellent add clear and Arc damage resistance while Arc Conductor is active.
- The Lament/Falling Guillotine:Both Swords are fantastic this season due to the return of Passive Guard, a seasonal mod that grants 50% damage resistance while you take a Sword equipped. Both weapons demolish Champions once you lot stun them.
- Any Sniper Rifle:Snipers can use Anti-Barrier mods this season, making them a perfect Special weapon to utilise for Nightfalls. The Long Shadow, Succession, and the IKELOS Sniper Rifle are all neat options.
Mods
- Solar Damage Resistance:This can only be applied to chest armor with a Solar affinity. Ii mods will make you take 40% less Solar impairment, practically negating the S.A.B.Due east.R. Protocol modifier.
- Focusing Lens:If you take a Stasis user in your fireteam, apply this mod! It increases your Light-based abilities by 25% if a target is affected by Stasis.
- Passive Guard:If you're running a Sword, equip this mod. Passive Guard gains 50% damage resistance while your Sword is equipped.
- Wrath of Rasputin:Solar splash damage can generate Warmind Cells. This works with Solar abilities and Solar AoE weapons (Xenophage, Code Duello, etc.).
- Protective Low-cal:Those not running Warmind Prison cell builds should utilize Protective Lite. This volition expend all of your Charged with Lite stacks when your shields break, granting a 50% impairment resistance vitrify for a short duration.
Attain And Defend The Warsat
Warsat Run across Enemies
- Two Overload Captains
- 1 Bulwark Servitor
- Captains
- Dregs
- Marauders
- Vandals
- Wretches
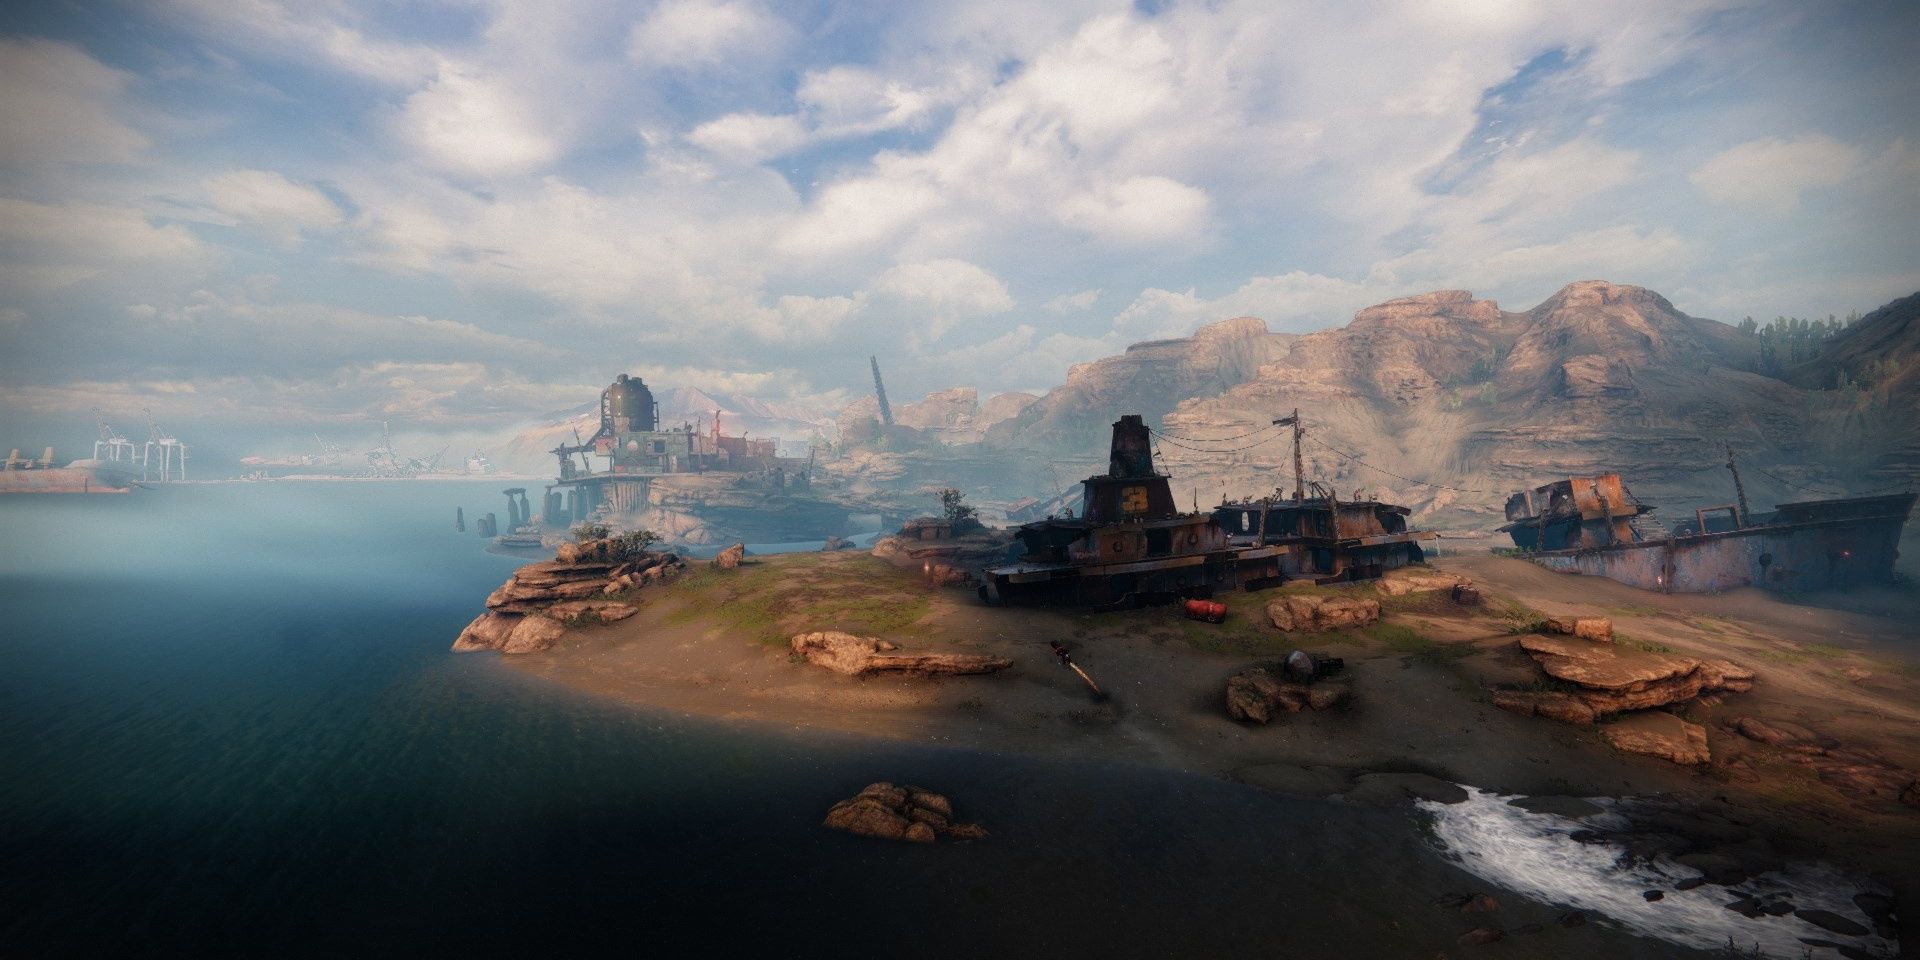
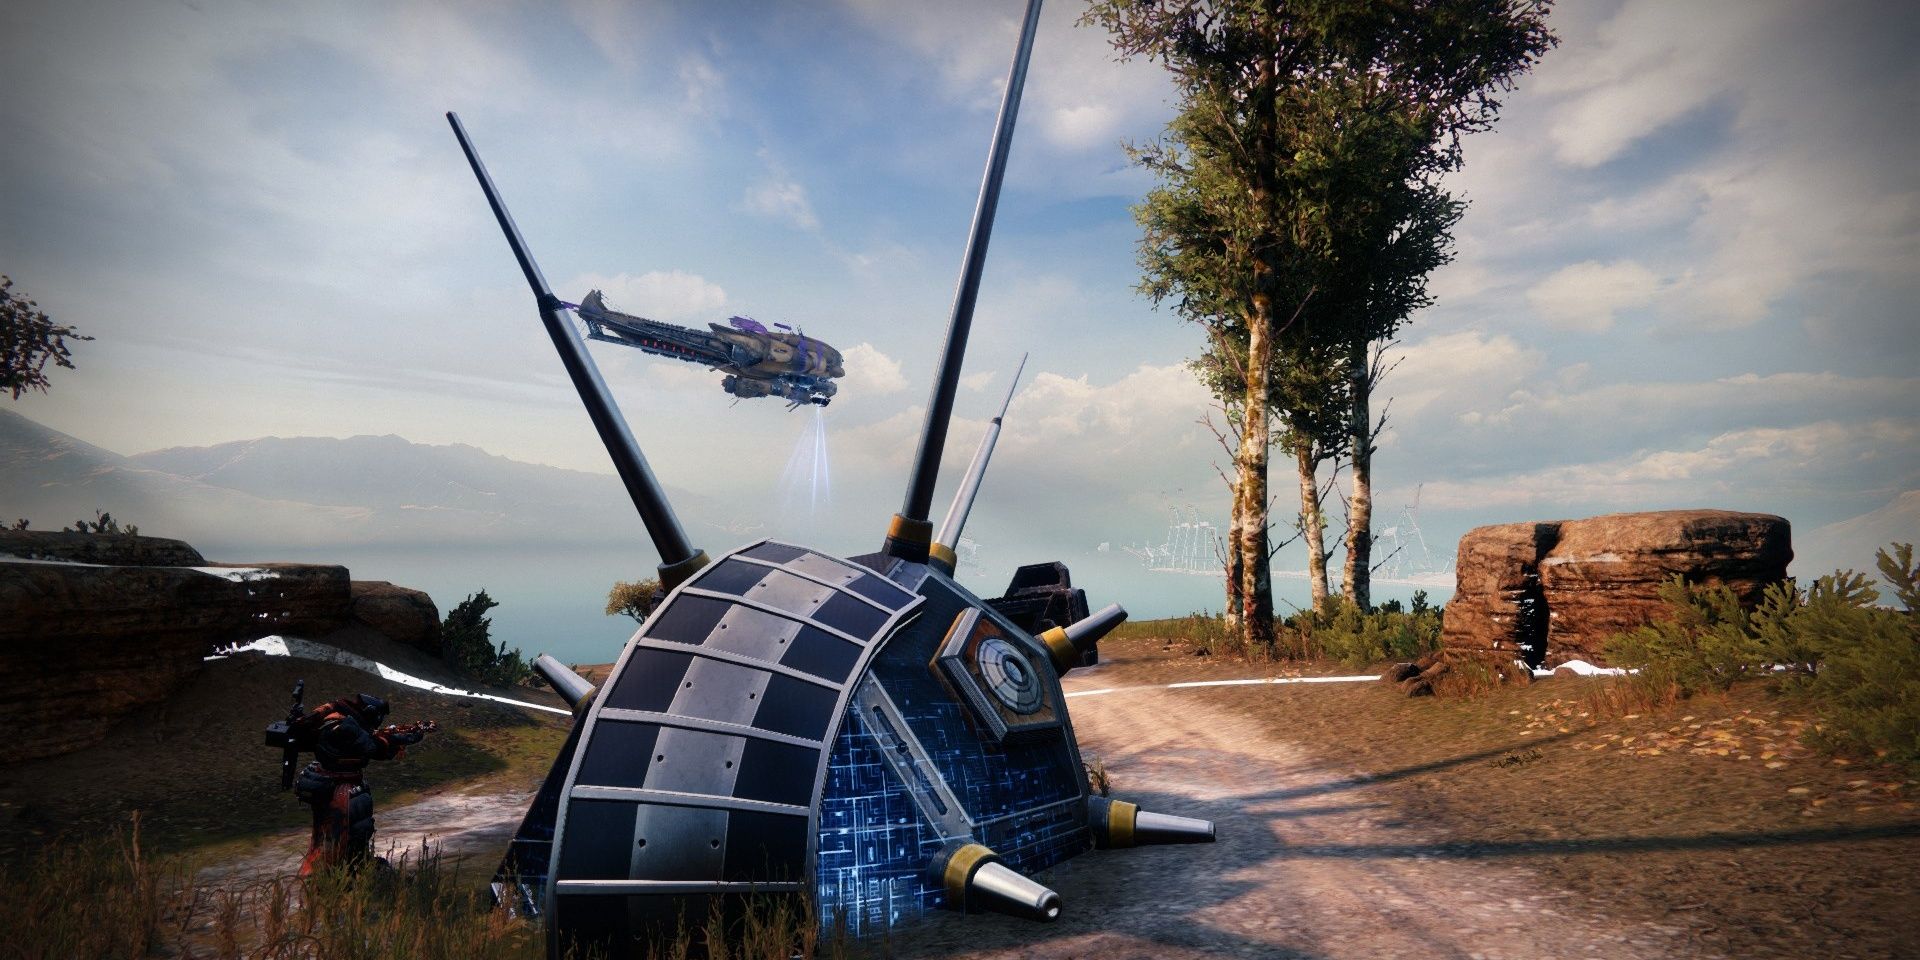
When you spawn in the Forgotten Shore, hop on your Sparrow and travel south. The waypoint will guide you to The Grottos. When you arrive, a Warsat volition crash near your location afterward a brusque filibuster. Scan the crashed object to start the encounter.
As with the Warsat public effect, you'll demand to protect your Ghost past standing virtually the Warsat. Enemies will rush yous in waves throughout this procedure. The encounter will end once the progress bar reaches 100%, despawning any enemies you're facing.
Wave I
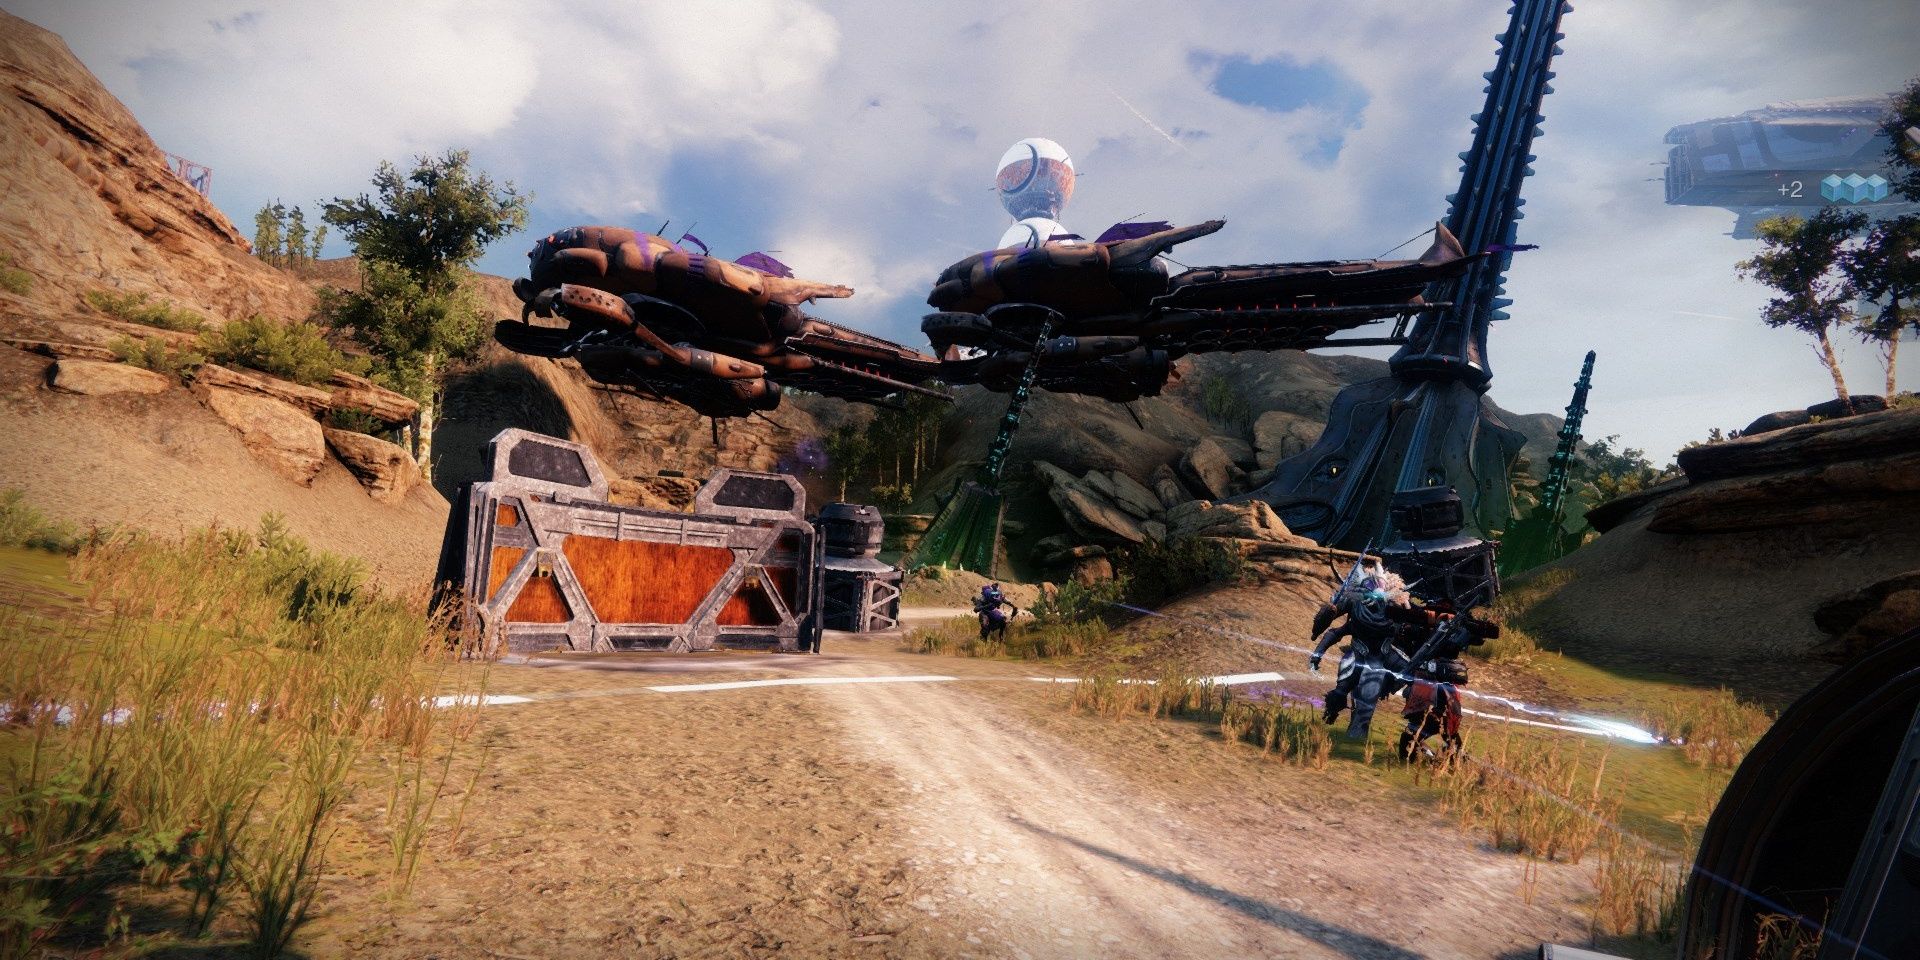
This Skiff will deploy enemies to the east, just beside the Warsat you're defending. Allurement a Dreg grenade or Skiff turret to hit you, activating Riskrunner's Arc Usher perk. Clear out the first wave of enemies, and then direct your attention to the Skiff'south turrets. A few rounds of a Sniper Rifle should blow them up. A 2d grouping of Fallen will spawn shortly afterward the first wave. Use Riskrunner to take them out.
A third moving ridge of Fallen volition spawn before this Skiff leaves, this time deploying an Overload Captain aslope Fallen Marauders and other provender. If Arc Conductor is agile, Riskrunner should have little issue stunning the Champion. Take it downwardly as fast as possible. When all three groups of Fallen are eliminated, focus your attention towards the west side of the Warsat.
Wave Two
At around 50% Warsat progress, 2 Skiffs will drop off enemies from the reverse side of the first wave, this time spawning a Barrier Servitor and a melee Captain. Once again, focus on killing the Champion first. A few Vandals will reposition to the north side of the Warsat and try to snipe you. Focus on killing them after the Barrier Servitor is dealt with.
How To Counter Barrier Servitors:When a Barrier Servitor makes everything immune to damage, focus on spawning its shield. Later it takes around xx-25% damage, it'll deploy a barrier. Pause information technology with an Anti-Barrier weapon to remove all amnesty tethers originating from the Servitor, giving you fourth dimension to kill either the Champion or the enemies it was protecting.
Wave Three

After the second moving ridge'south Skiffs go out, the third wave begins. This Skiff spawns enemies from the east, just as the first Skiff did. The starting time group of Fallen volition have an Overload Helm in the ranks alongside provender enemies. Focus on killing the Champion before yous capture the Warsat. Yous tin can focus on capturing the Warsat once the Overload Captain is defeated.
When the Warsat reaches 100%, jump down the cliffside on the east side to observe a bunker entrance. Open the door, and so head inside. A short walk will lead y'all to the bunker proper.
Inbound The Bunker

Bunker Entrance Enemies
- Four Overload Captains
- One Bulwark Servitor
- Dregs
- Marauders
- Servitor
- Explosive Shanks
- Tracer Shanks
- Vandals
If one of your fireteam members is using Warmind Cells, at present'southward the perfect time to spawn them. This room is a narrow corridor with multiple Shanks, Dregs, Explosive Shanks, and Marauders that'll rush your position. At the end of the corridor are a Barrier Servitor and Overload Helm. Focus on defeating the Fallen adds before you lot impale the Champions at the end of the corridor. When y'all've defeated both Champions, a 2nd Overload Captain will spawn at the entrance aslope a few Tracer Shanks. Eliminate the Overload Captain before yous destroy the bunker's security system.
With all of the Fallen defeated, interact with the terminal the showtime two Champions were defending. It'll reveal a fuse. Shoot the fuse, then double back to where you lot entered the bunker from. Two Overload Captains and multiple Marauders volition effort to stop you lot. Snipe the Marauders before y'all close the gap on the Champion duo. Impale both Champions, then enter the catwalks to the right of the bunker entrance. Shoot a grate halfway on the catwalk to descend a floor.
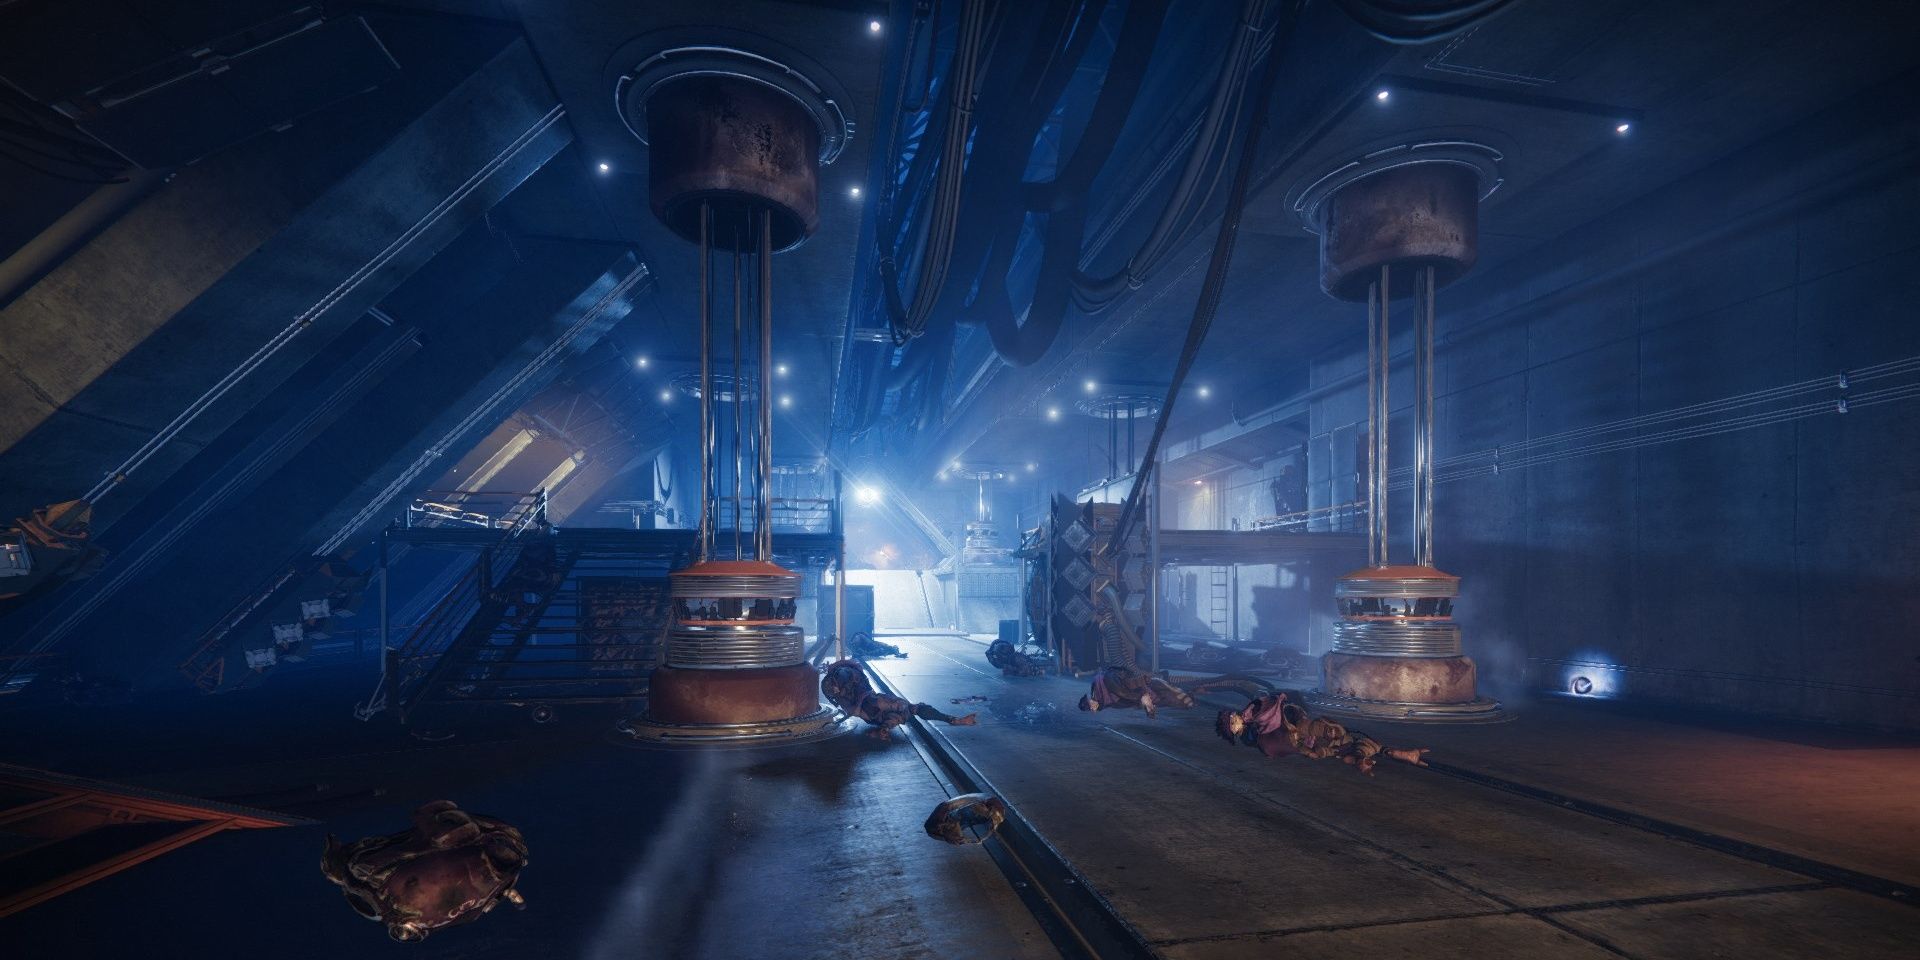
Escorting The Arc Accuse
Arc Charge Enemies
- Shanks
- Explosive Shanks
- Tracer Shanks
Your fireteam must escort an Arc accuse from one end of the corridor to the other. When you enter this room, focus on taking out the two Tracer Shanks before grabbing the accuse. In one case someone has the orb, escort information technology to the opposite end of the hall, fugitive any Arc lightning that'southward traveling in your direction. Diverse Shanks will spawn during this. Either drop the orb or accept a fireteam member destroy the Shanks earlier you deposit it. Once y'all've deposited the orb, run to the other end of the corridor to leave the room.
Stairway Encounter
Stairway Enemies
- Three Overload Champions
- One Barrier Servitor
- Dregs
- Marauders
- Explosive Shanks
- Tracer Shanks
- Vandals
- Wretches
Before you lot enter the room, allow the Dregs and Shanks activate your Riskrunner's Arc Usher perk. It'll make this part much easier. Feel free to use your Supers during this part as well; it gets quite hectic.
Dozens of Fallen enemies will be rushing your location one time you enter this room, one of which volition be a Champion. An Overload Captain volition exist standing near the stairs when you enter. Focus on defeating the Captain once you lot dispatch the Fallen enemies next to you.
After the Overload Captain dies, a Barrier Servitor will spawn at the cease of the room alongside a few Tracer Shanks. Stun this Servitor ASAP so you can eliminate the Tracer Shanks. Two Overload Captains volition spawn shortly subsequently, accompanied by even more Tracer Shanks and Wretches. Focus on destroying the Servitor start, then eliminate the Shanks. Stun both Overload Captains, then focus your attention on one of them. Defeat both Captains to open the path to Bunker State of war-4, the penultimate gainsay encounter.
Bunker War-iv
Bunker State of war-4 Enemies
- Three Overload Captains
- One Barrier Servitor
- Dregs
- Vandals
Depending on your loadout and/or fireteam, this function will either be a cakewalk or a royal pain. Have your Supers or Heavy weapons prepare to nuke the Champions in this room.
In that location volition be four Champions in this room: one Barrier Servitor and 3 Overload Captains. The Servitor and two Captains typically wander near the raised platform in the room. A third Captain patrols nigh the get out of the room.
Focus on defeating the isolated Captain outset, stunning it with Riskrunner before nuking it with a Super or Heavy weapon. Now direct your attention to the Barrier Servitor protecting the rest of the enemies. Try to interruption its shield as soon as possible, then stun the Captains. Eliminate the Barrier Servitor, then option off the last ii Captains i by one. Run upwards the stairs at the end of the room to reach the final boss arena.
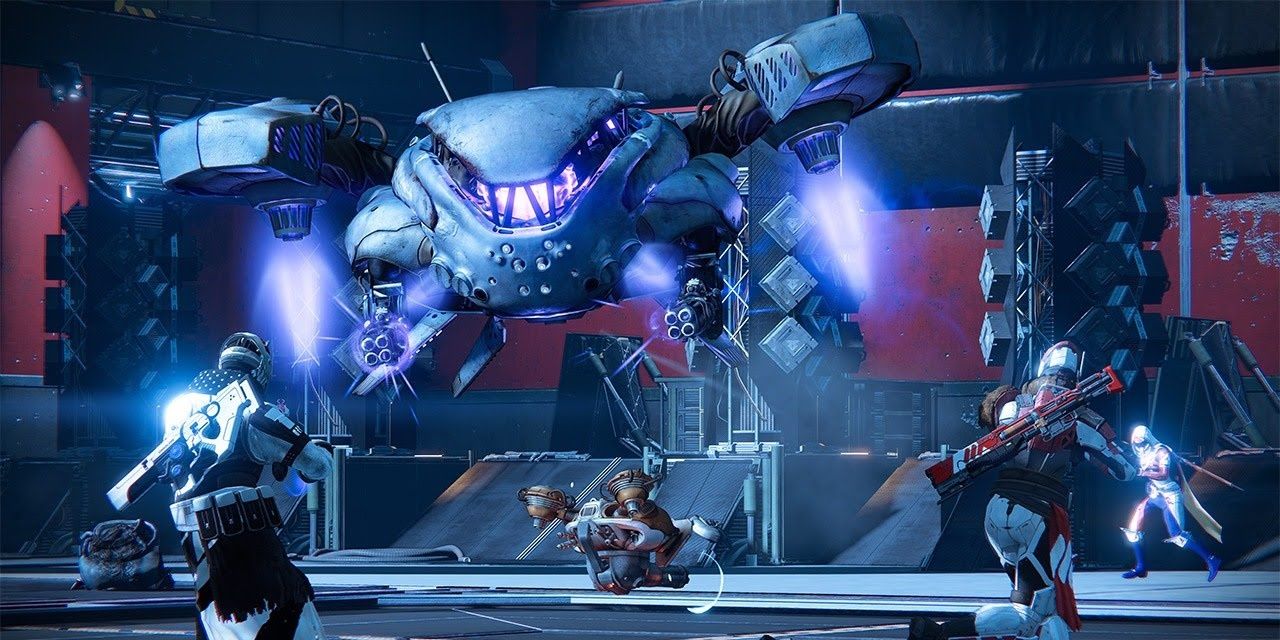
S.A.B.Eastward.R. Fight
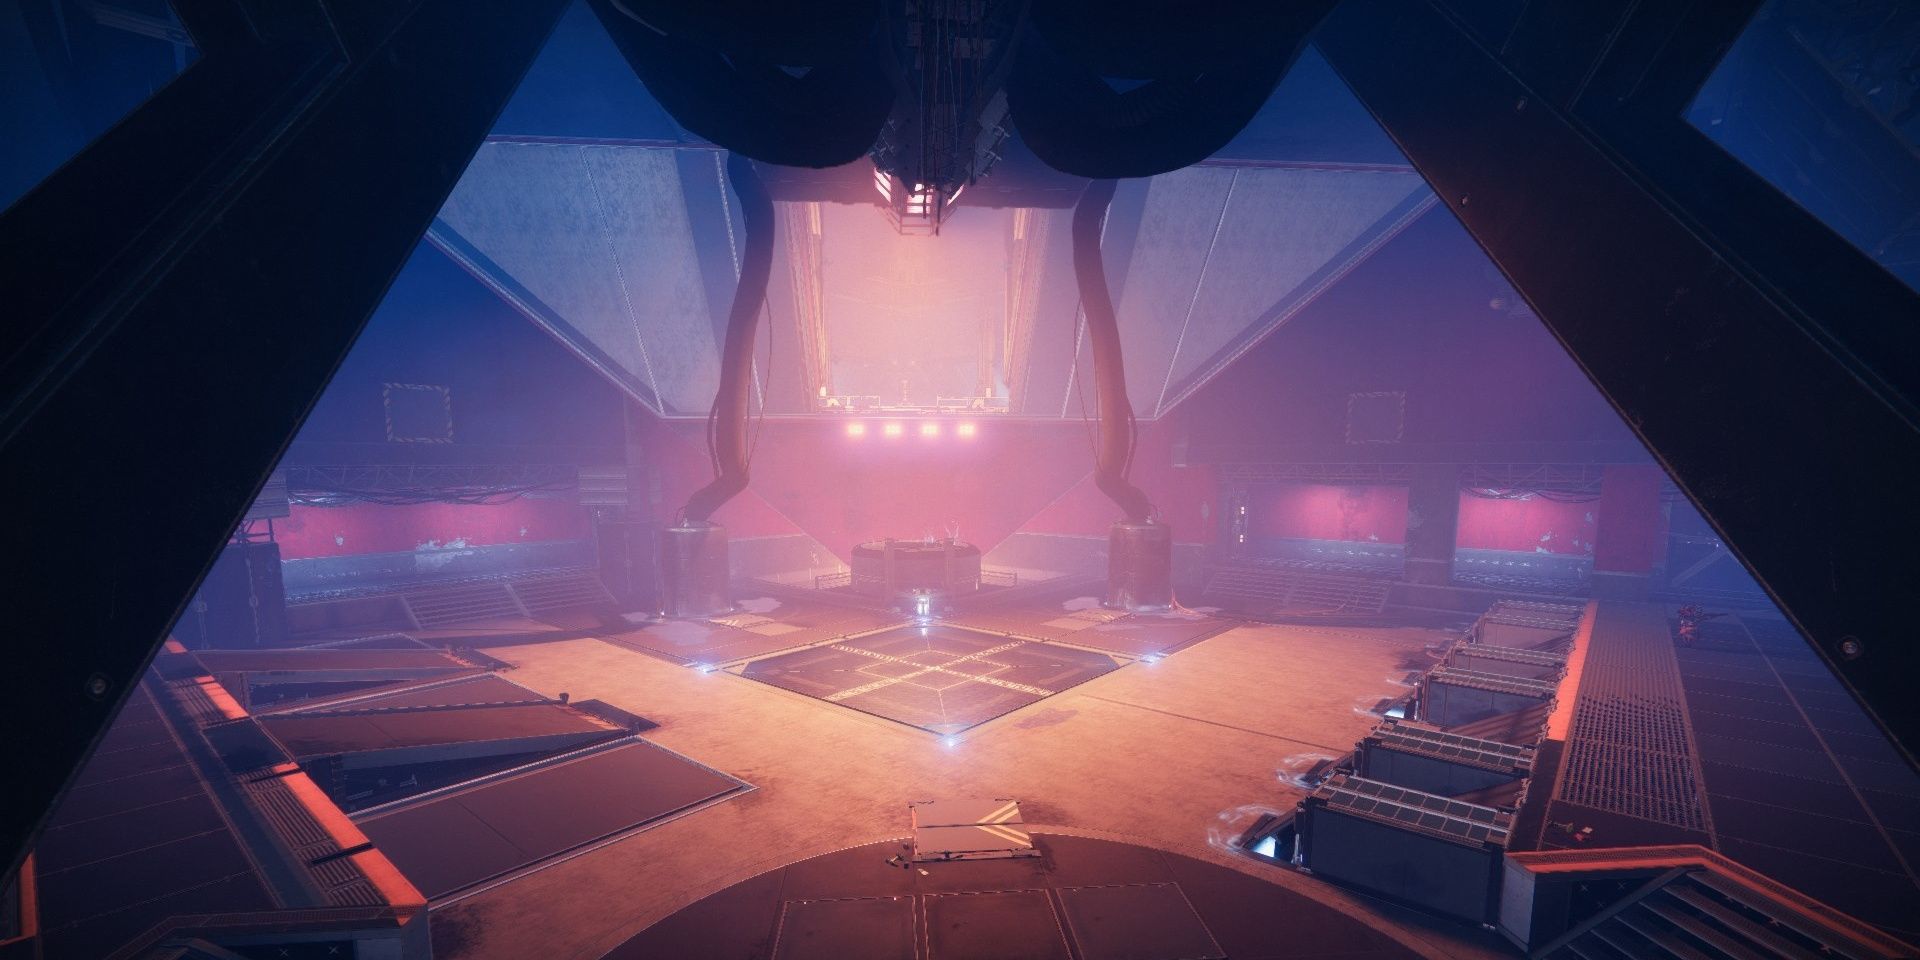
Boss Encounter Enemies
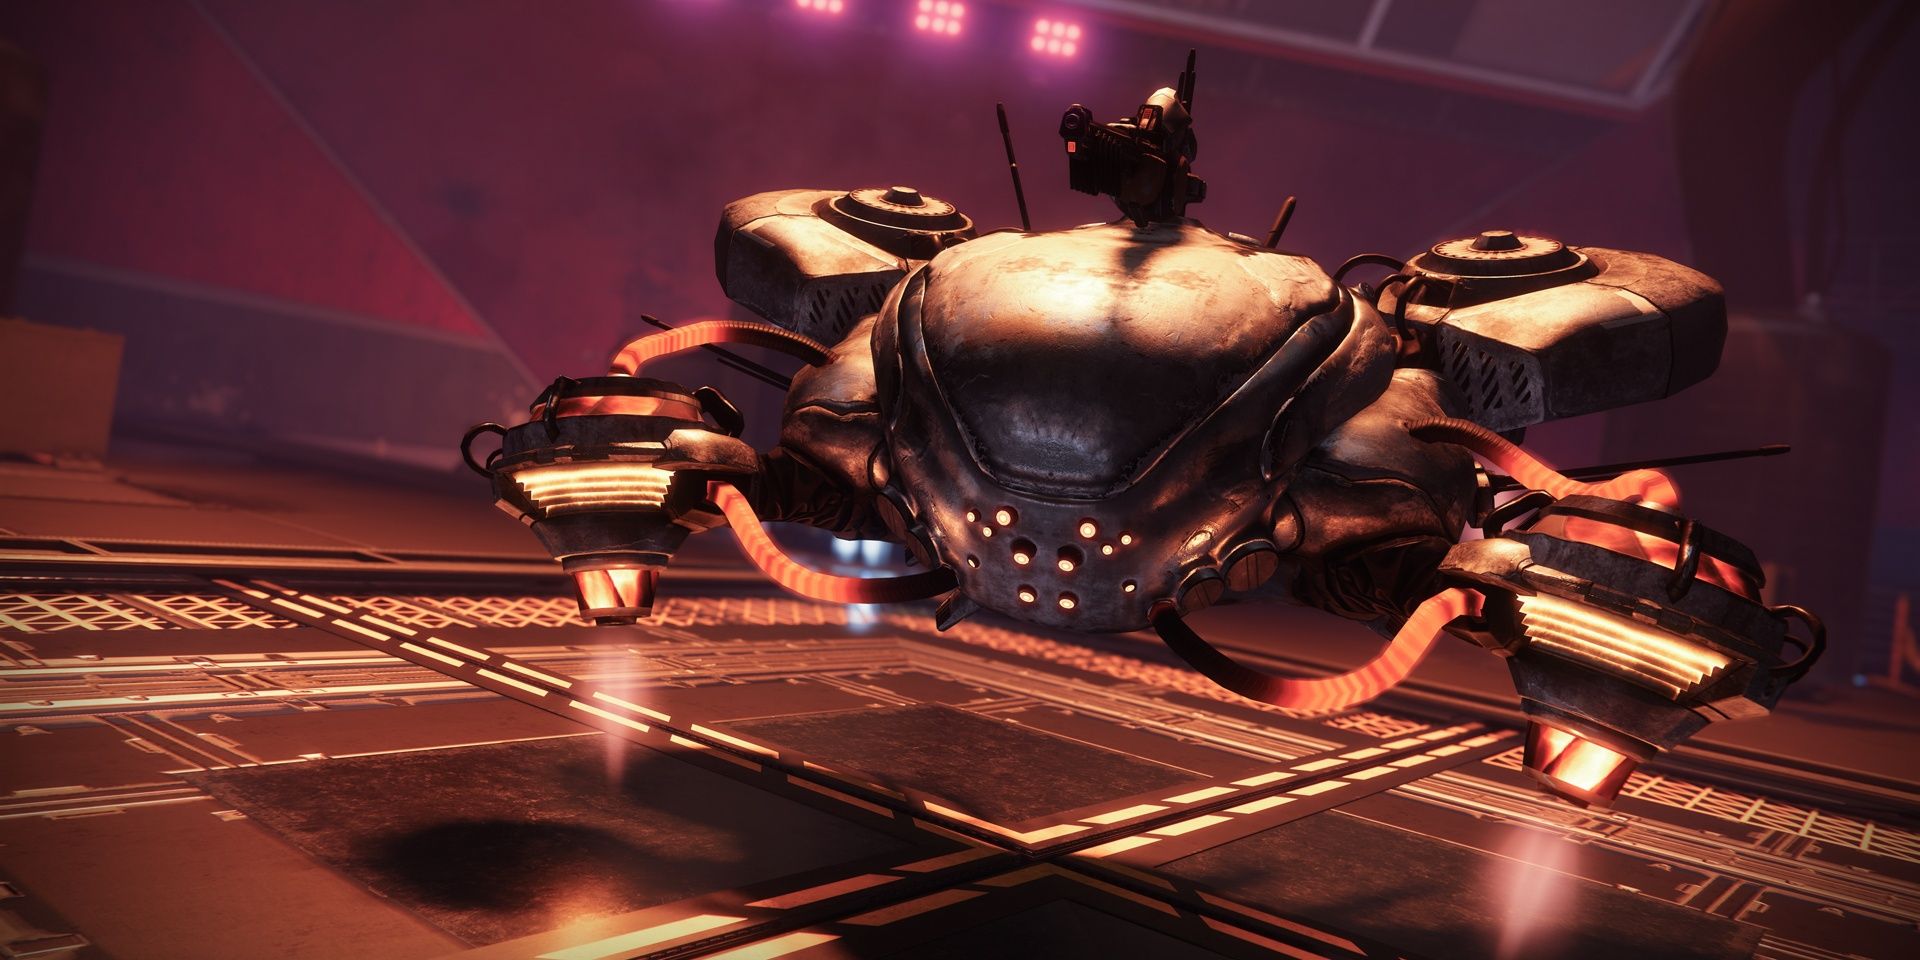
- Southward.A.B.East.R.-2 Heavy Shank
- Two Barrier Servitors
- Servitors
- Shanks
- Explosive Shanks
- Tracer Shanks
To spawn the Heavy Shank boss, eliminate the two Servitors and group of Shanks on both ends of the room. The Southward.A.B.Eastward.R.-ii Shank has iv phases, most of which play out the same.
Before we explain the boss encounter, it'south of import to note that the arena will periodically activate electric pylons and traps that can deal serious harm to you. Steer clear of whatever activated pylons to forbid an embarrassing decease. These traps tin also be used to activate Riskrunner's Arc Usher perk.
Phase I
This boss is immediately vulnerable when it spawns, so it's not a bad idea to apace impairment the dominate now. Use your Special or Heavy weapons to drop its wellness bar, firing at its front thrusters to deal critical damage. Shanks will spawn periodically during this phase, giving yous a means of spawning ammo from finishers or activating Riskrunner'south Arc Conductor perk.
When it loses 25% of its health, Due south.A.B.Due east.R. will retreat to the back of the map, spawning a Barrier Servitor to brand nearby Shanks immortal. The dominate will periodically burn down a Solar sniper during this office, instantly killing Guardians under 1,330 Power. Try to stay on the motility every bit you damage the Champion then this doesn't impale you. Eliminate all of the adds to make the boss vulnerable once again.
Phase 2

Stage ii is almost identical to phase ane. A few more than Shanks will spawn throughout the fight now, but that's the just real difference. Damage the boss until it reaches l% HP. It'll retreat once once more, spawning a Barrier Servitor forth with a few Tracer and Explosive Shanks. Should the Shanks become immune to impairment, stun the Barrier Servitor to remove their invulnerability tethers. Kill the Champion and Shanks to start phase three.
Phase Three
Now is the time to nuke the Due south.A.B.East.R.'south wellness bar. You can immediately starting time phase four and impale the dominate by damaging its wellness bar here. The phase itself is merely like the last 2, except now the boss has its weak point on its face instead of its side thrusters. Become information technology downward to 25% health to start the concluding phase.
Phase Four
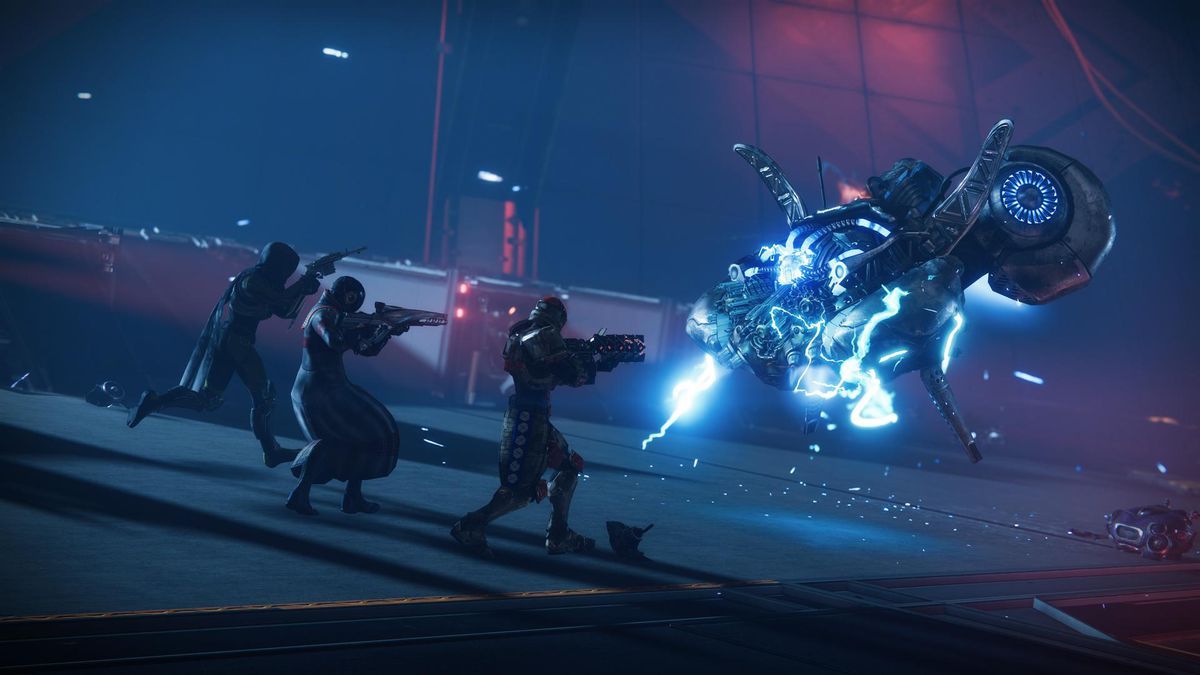
The S.A.B.Eastward.R. will enter a disquisitional state and charge y'all. If the boss gets close to you lot, information technology'll explode and instantly impale you lot. Hunters can become invisible to gain some distance, and all Stasis specs can dull it down to make this part less stressful. The easiest fashion to handle this part is to nuke its health bar. Since most of its front plate is its weakpoint, Sniper Rifles tin can do massive harm to the dominate. Utilise everything you have to nuke the S.A.B.E.R. Shank. Defeating the boss ends the Nightfall.

Solo tip:You can exploit the Due south.A.B.E.R.'s AI past crouching in the corner shown above. If the boss is directly in front of y'all, damaging it will cause South.A.B.E.R. to glide upwardly the ramp, rushing to flank you. Since there's an elevation divergence, information technology'll just sit directly backside you lot and never explode. Accept out all of the fodder Shanks before doing this for an easy fourth stage.
Source: https://www.thegamer.com/destiny-2-fallen-saber-master-nightfall-guide/
0 Response to "Xbox 360 Destiny Taken King Taken Champions Cheese Easy"
Post a Comment